Cane Toad 3D Model
Model sculpted, textured and bump mapped in Autodesk Maya
October 26, 2019
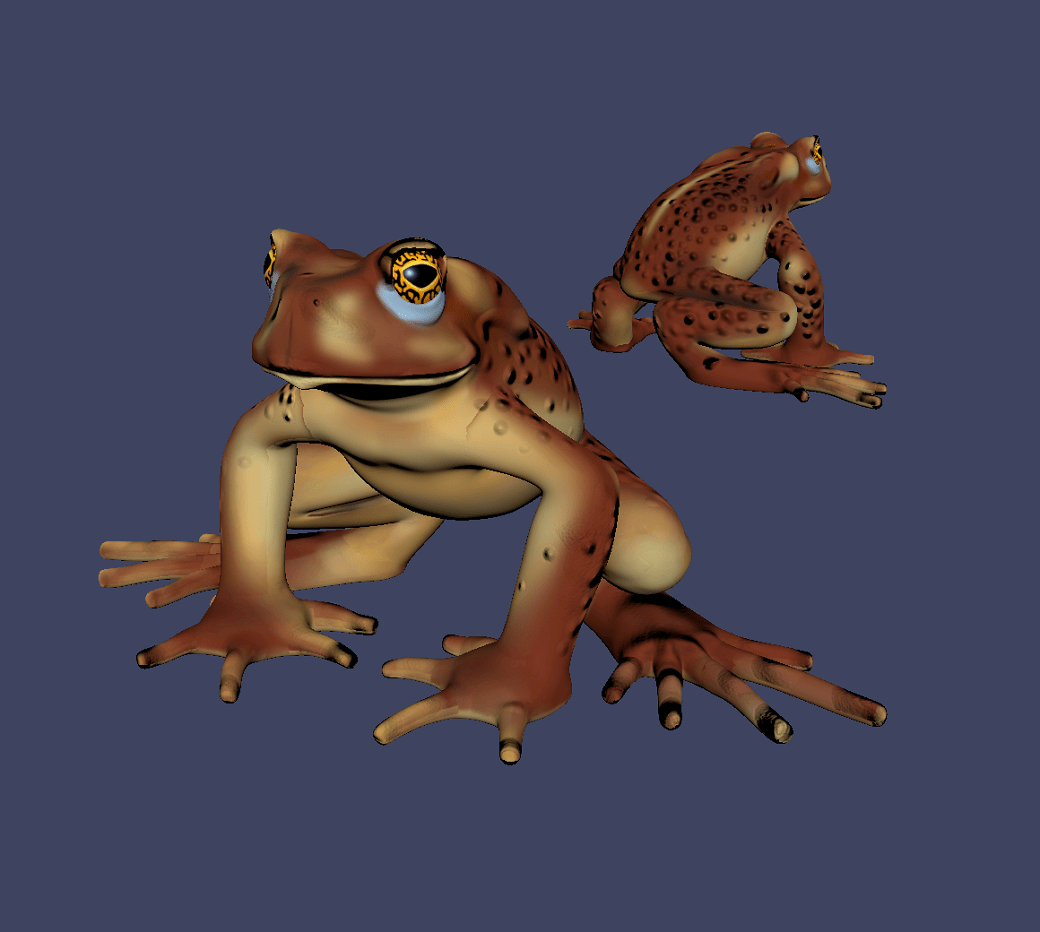
During my first semester at UNCW I took 3D Computer Graphics, where we learned how to sculpt digital models using Autodesk Maya. Each of our four projects during the semester allowed us more freedom than the last, with our third project uniquely being a partner project. Assigned in October, as a way of celebrating an early Halloween, our task was to create a combined sculpture centered around the theme of “horror.” In other words, each of us would have to create our own “horror” themed sculpture, and then we would fuse them together into some sort of monstrosity as partners. While I had no say over what my partner created, this was my first opportunity to sculpt a frog or toad in this class and I took it eagerly. As for “horror,” while perhaps not the scariest looking frog, few frogs seemed to embody the idea of horror to me more than the huge, intensely toxic, and terrifyingly invasive Cane Toad.
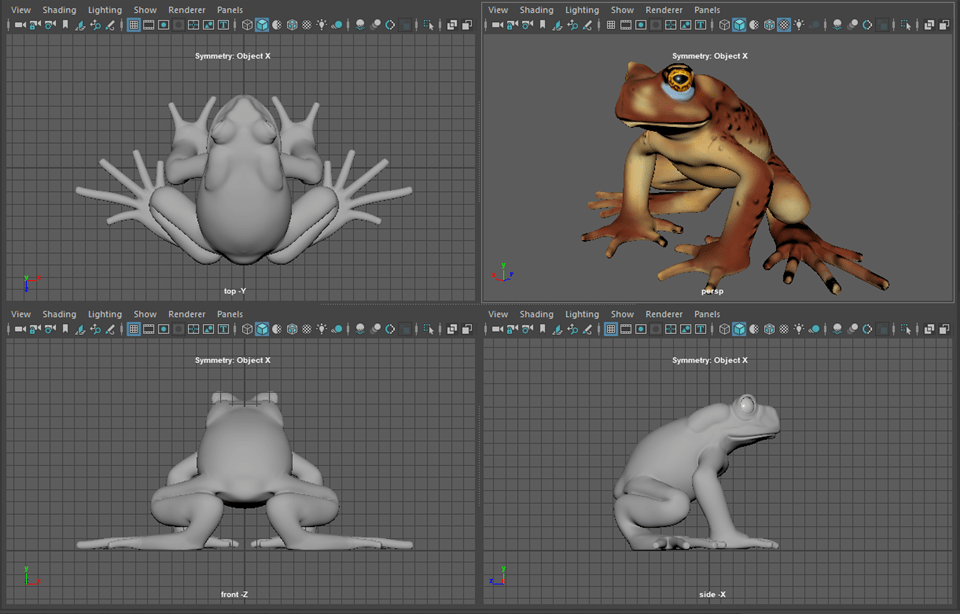
Having no prior experience in digital 3D modeling before this course, I experimented as I went, starting with spheres for each of the body parts and adding to, distorting and shaping them from there. However, when I thought I was nearly done modelling my toad, my professor informed me that I should not have used sphered to build my model. Because sphere polygons converge into points at their tops and bottoms, it would leave me with countless messy triangles that would have made combining my pieces together and texturing them would have been a nightmare. So this time, I had to build my toad from scratch, this time following block-modelling tutorials to build it not around spheres but with cubes. To maximize my control over my sculptures’ faces, I started with as few vertices as possible for the head and body, arranging them where I wanted and only then inserting more edge loops to detail it further.
While I did not want to redo my sculpture, I still mostly enjoyed the learning process however until I reached the back feet, which nearly killed me. I redid them several times to ensure I was not creating too many polygons, and when after spent hours to finally finish them, I discovered that my current file corrupted upon saving. That meant I had to start the feet over entirely from scratch. While incredibly frustrating, it fortunately was a little easier to create the second time, and once I cleaned up my mess of a UV map I finally got to work on the fun part – texturing.
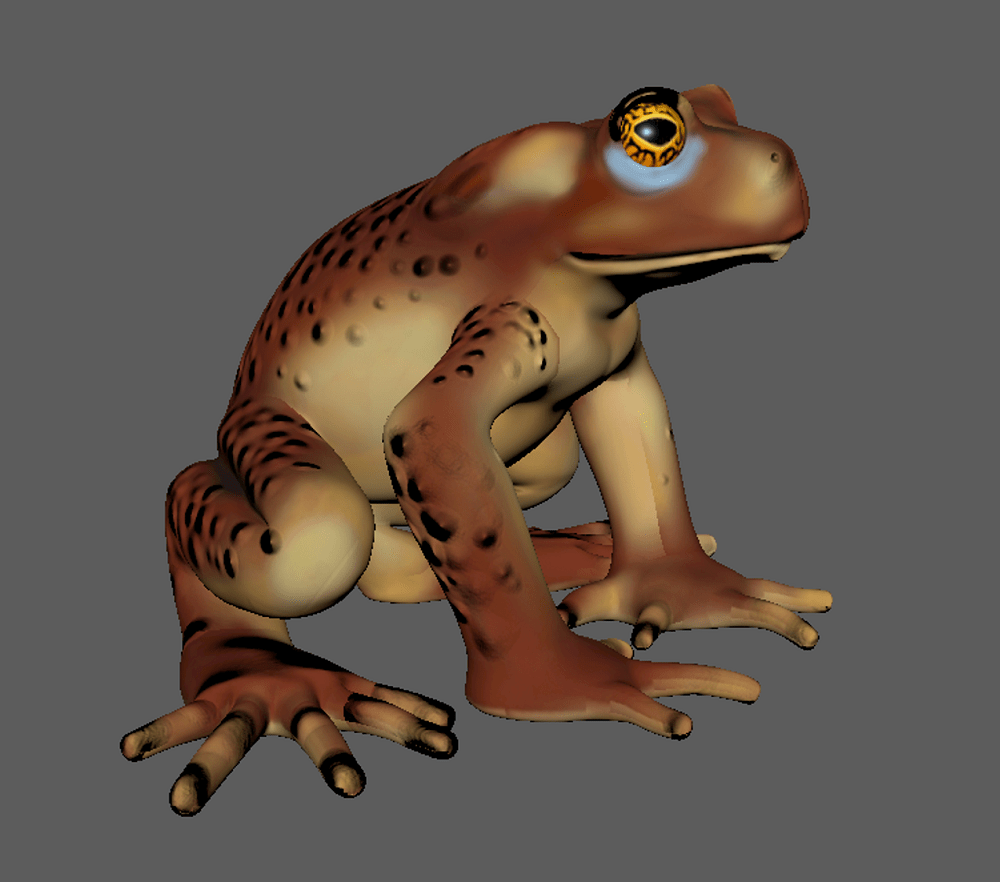
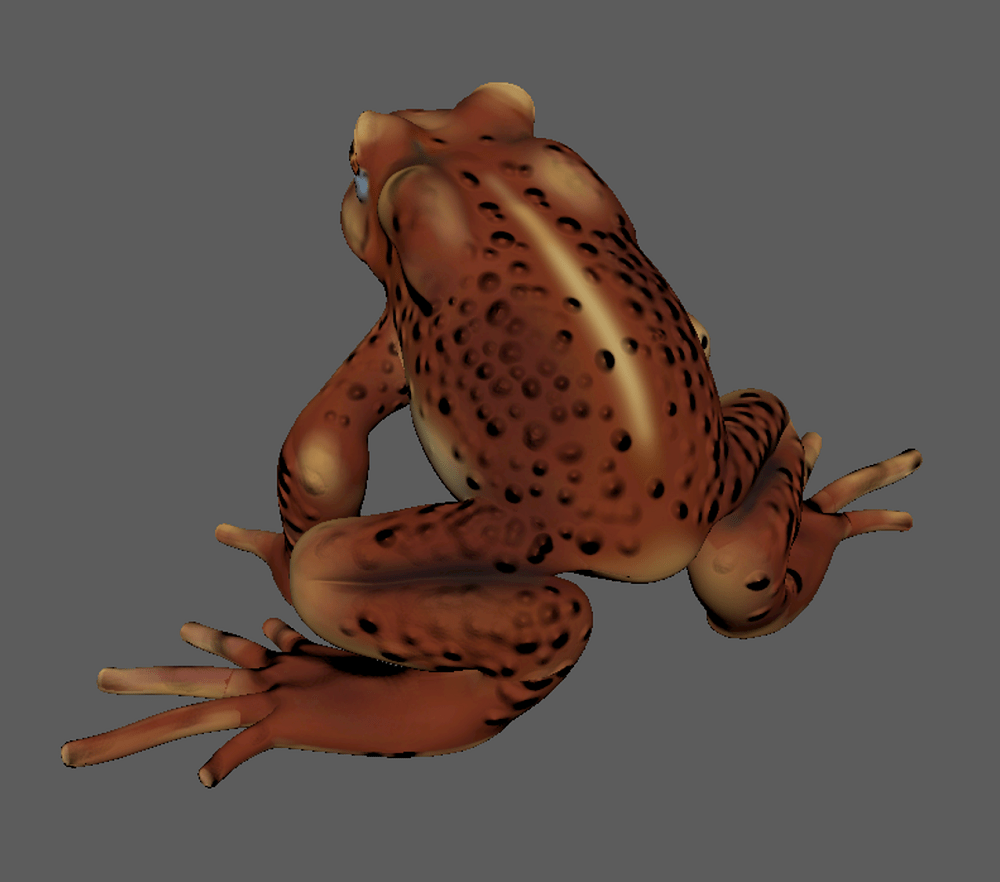
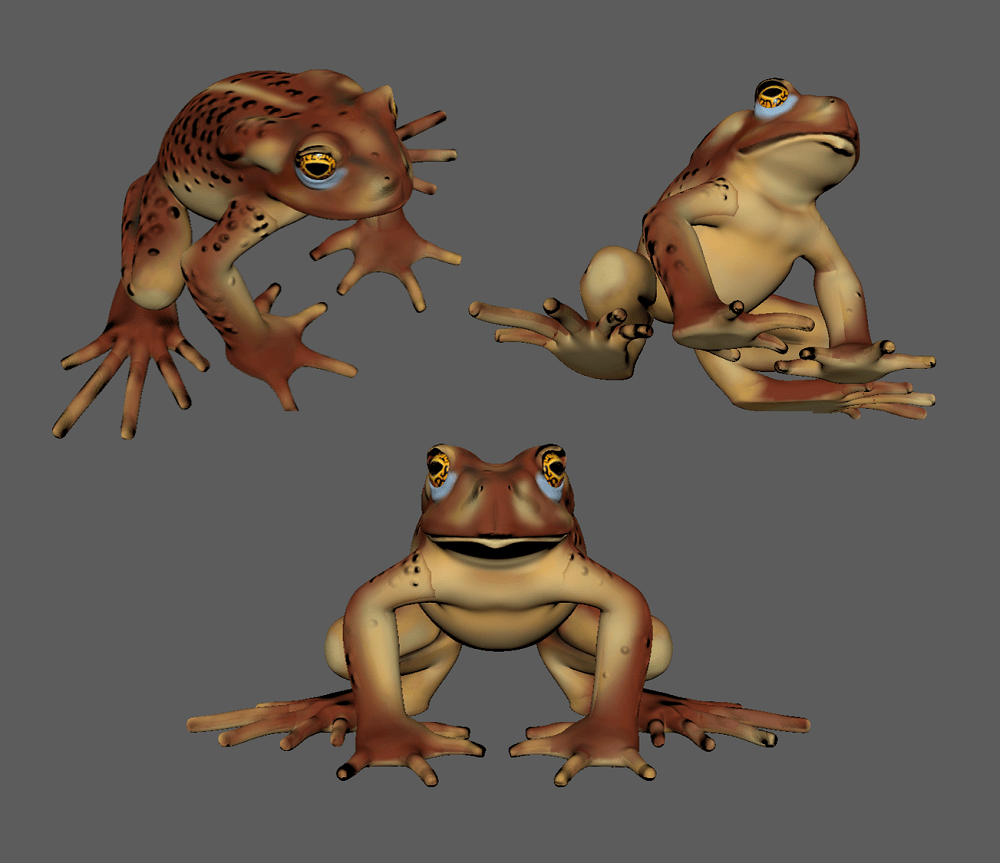
I used the 3D Paint tool to color my Cane Toad’s texture, using a blur setting to blend my marks smoothly. Then I used a similar process with a displacement map to create the toad’s 3D-looking bumps. Not only was it fun to “sculpt” a bump using a single paint stroke, but it was an incredibly satisfying way to my model appear like a genuine toad. Lastly, I returned to my texture layer to carefully paint the eyes, then sent it off to my partner for him to create his part of the project. In the end, having to redo this project was really stressful because it took time away from two other massive projects of mine, forcing me to lose a lot of sleep to complete them all. Yet, despite the needlessly intensive process creating this Cane Toad, I am thrilled I was finally able to make a from in my 3D modelling class, and working through the complications to build this sculpture allowed my later Southern Leopard Frog model to go much more smoothly.